Caulking is a simple yet effective way to seal gaps and prevent damage in your home, from water leaks to air drafts. It’s a skill that every homeowner should have, as it not only protects but also improves the appearance of your spaces. This guide will walk you through the best practices for caulking, ensuring that you can handle this task like a pro.
- Choose the Right Caulk
Type: The choice of caulk largely depends on the project:
– Silicone caulk is waterproof and flexible, perfect for areas exposed to moisture like showers and sinks. It is mold and mildew resistant but cannot be painted.
– Latex caulk is easier to work with and clean up and can be painted, making it ideal for interior projects such as sealing around doors and windows.
– Polyurethane caulk is extremely durable and suitable for both indoor and outdoor projects, particularly where joints move significantly.
Color: Caulk typically comes in clear, white, or a variety of colors. Clear caulk is useful when you don’t want to impact the surrounding aesthetic, while colored options should match the surrounding materials unless you plan to paint over it.
- Prep the Surface
Thorough preparation is key to ensuring that the caulk adheres properly and lasts. Start by removing any old caulk with a caulk remover tool or a utility knife. Clean the area with soap and water or a solvent like isopropyl alcohol, and allow it to dry completely. This prevents dirt and moisture from undermining the new caulk’s effectiveness.
- Use a Caulk Gun
A good caulk gun can make the application process smoother and more controlled. Features to look for include a pressure release mechanism to stop the flow of caulk when you release the trigger and a comfortable grip. Load the tube correctly and practice on a piece of cardboard if you’re unfamiliar with the tool.
- Cut the Tip Correctly
The size of the hole in the caulk tube’s nozzle will determine the flow of the caulk. Cut it at a 45-degree angle for easier application along joints. Start with a smaller cut—you can always enlarge it if needed. This gives you more control over the amount of caulk dispensed.
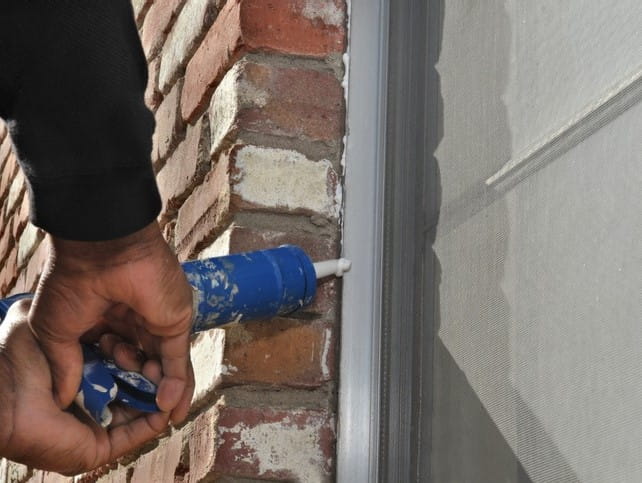
- Apply Evenly
Consistency is crucial for a professional-looking finish. Apply steady pressure on the trigger and move the gun along the seam in one fluid motion. Aim to keep the gun moving at a consistent speed and angle to lay down an even bead.
- Smooth the Bead
Smoothing out the caulk bead is essential for both appearance and seal quality. You can use a damp finger, a caulk smoother, or a small spoon dipped in soapy water to gently press and smooth the caulk into the gap. This action helps it bond uniformly with both sides of the gap.
- Let It Cure
Patience is important. Caulk needs time to set and achieve its full sealing properties. Avoid exposure to water and touching the caulk during this time. Check the product instructions for specific curing times, which can vary based on the type of caulk and environmental conditions.
- Regular Maintenance
Even the best-applied caulk can degrade over time. Inspect caulked areas annually and look for signs of cracking or peeling. Address these issues promptly to maintain the integrity of your seals.
Caulking is a critical maintenance task that can prevent a variety of household problems. By following these detailed steps, you can ensure a watertight and airtight seal, keeping your home safe and well-maintained. Happy caulking!