Living in Chicago means dealing with extreme and unpredictable weather. From blistering summers to frigid winters and everything in between, the city’s climate poses unique challenges to the exterior of your home—especially your siding. As a key protective layer, siding shields your home from the elements, but prolonged exposure to Chicago’s weather can take a toll. Here’s how the city’s climate impacts your siding and what you can do to protect it.
Temperature Extremes
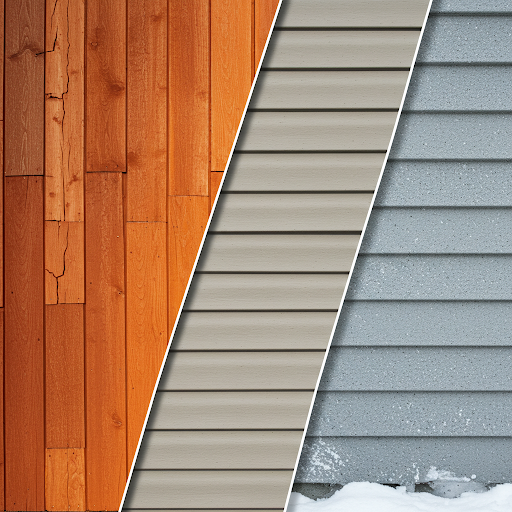
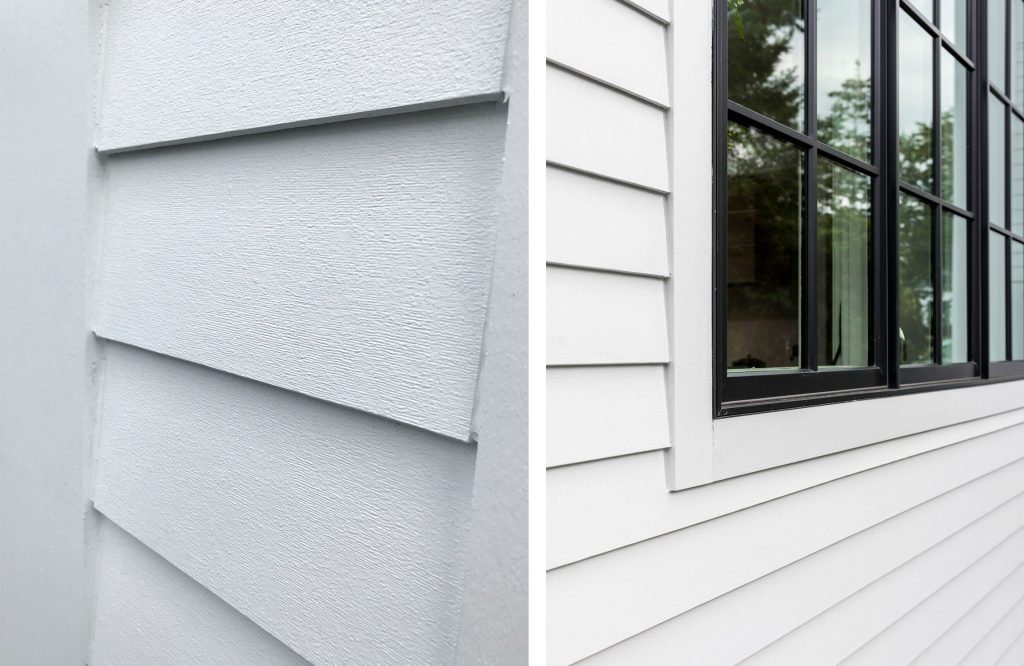
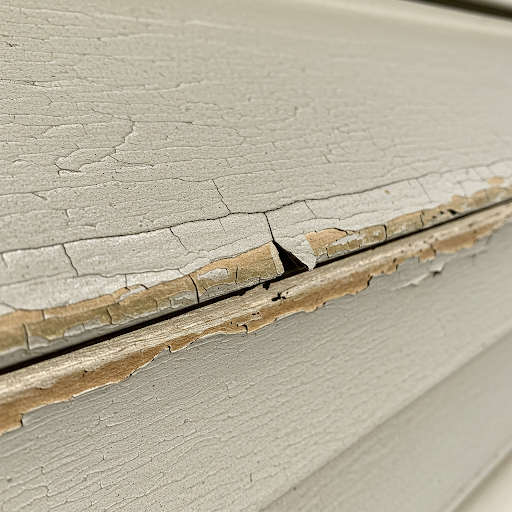
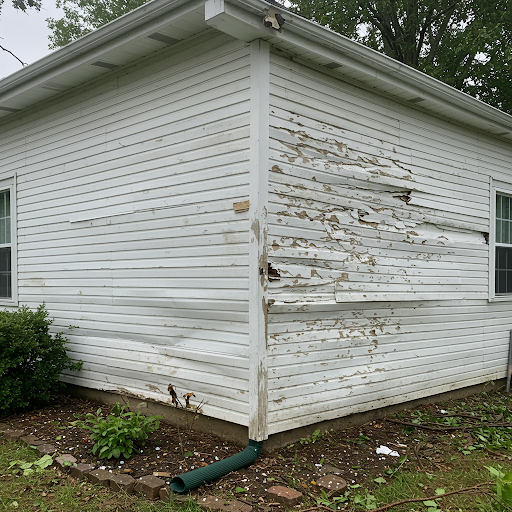
Chicago’s weather is known for its dramatic temperature swings, from freezing winters to sweltering summers. These fluctuations cause siding materials to expand and contract. Over time, this movement can lead to warping, cracking, or buckling, especially in materials like vinyl or wood. Fiber cement and engineered wood siding are often better equipped to handle these shifts, maintaining their integrity through harsh conditions.
Heavy Rain and Snow
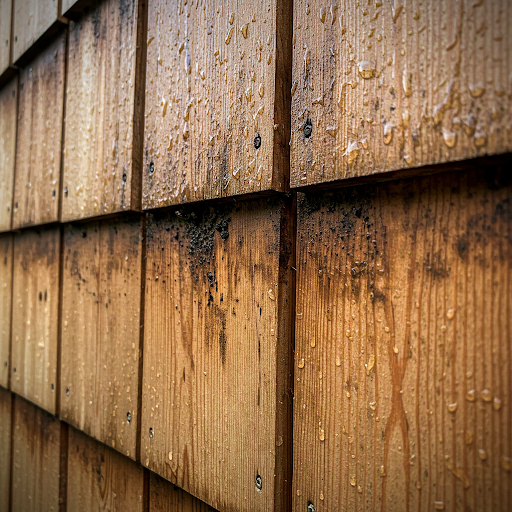
Chicago receives significant precipitation year-round, including heavy rain in spring and summer and snow in winter. Moisture can infiltrate damaged siding, leading to mold, rot, or even structural damage if left unaddressed. Wood siding is particularly vulnerable to water damage, while materials like fiber cement and vinyl offer superior moisture resistance.
Ice and Freezing Conditions
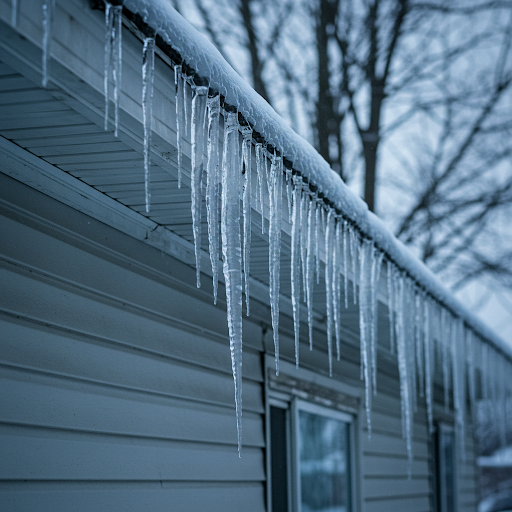
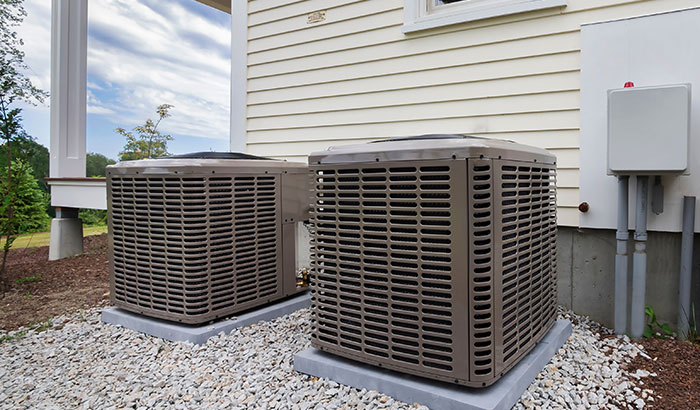
During the winter months, ice formation can pose a significant threat to siding. The freeze-thaw cycle can exacerbate small cracks, turning them into larger issues. Icicles and ice dams can also strain siding and gutters, potentially pulling them away from the home. Proper insulation and gutter maintenance can help mitigate these risks.
Strong Winds and Storms
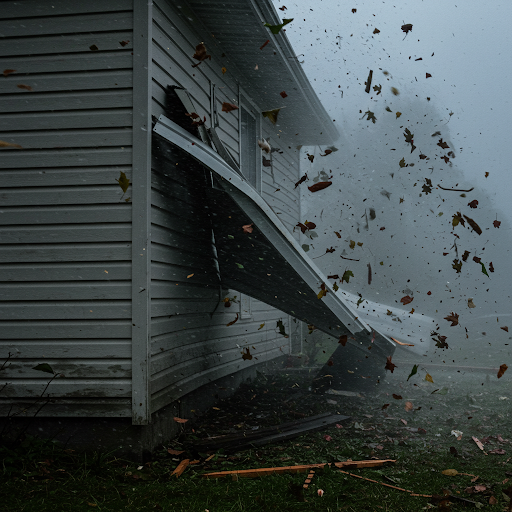
Chicago’s nickname, “The Windy City,” is no joke. High winds during storms can loosen or detach siding panels, leaving your home vulnerable to the elements. Certain materials, such as engineered wood or fiber cement, are designed to withstand high wind speeds better than others. Regular inspections can catch loose panels before they become a problem.
UV Exposure
While Chicago isn’t known for year-round sunshine, the summer months bring intense UV rays that can fade and weaken certain siding materials over time. Vinyl siding, for example, can lose its color and become brittle under prolonged sun exposure. UV-resistant coatings or selecting durable materials like fiber cement can help maintain your home’s appearance.
Hail Damage
Hailstorms are a common occurrence in Chicago, particularly in the spring and summer. Hail can dent or crack siding, leaving it susceptible to further damage from moisture and temperature changes. Metal and fiber cement siding tend to be more resistant to hail than vinyl or wood.
Tips to Protect Your Siding in Chicago’s Climate
- Choose the Right Material: Opt for siding materials specifically designed to handle Chicago’s weather, such as fiber cement, engineered wood, or high-quality vinyl.
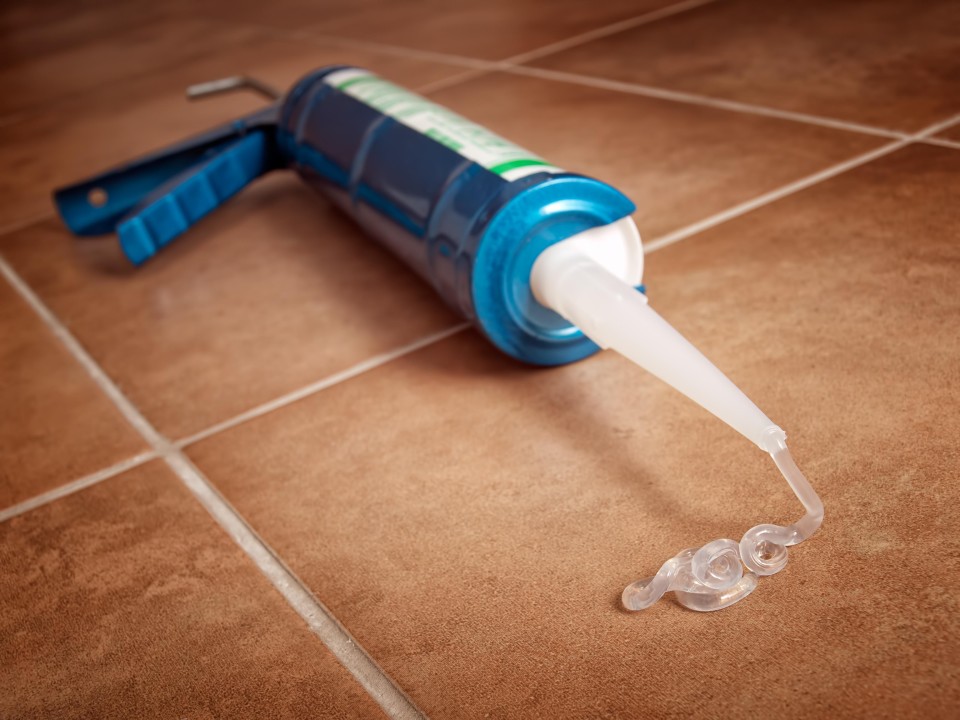
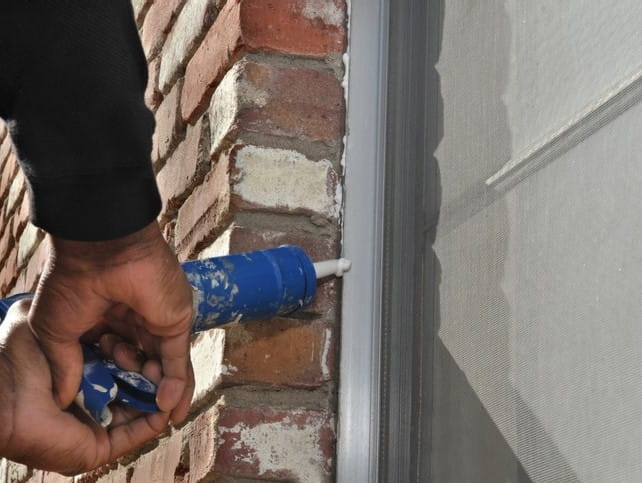
- Regular Maintenance: Inspect your siding seasonally for signs of damage like cracks, warping, or loose panels. Address issues promptly to prevent them from worsening.
- Invest in Proper Installation: Ensure your siding is installed by professionals who understand the challenges of Chicago’s climate. Poor installation can exacerbate weather-related problems.
- Upgrade Your Insulation: Proper insulation can reduce the impact of temperature fluctuations and help your siding last longer.
- Keep Gutters Clear: Well-maintained gutters prevent water from pooling near your siding, reducing the risk of moisture damage.
Chicago’s weather is as tough on homes as it is on residents. By understanding the challenges posed by the local climate and taking proactive measures, you can ensure your siding stands the test of time. Whether you’re considering new siding or looking to maintain what you already have, choosing the right materials and staying ahead of repairs will keep your home protected and looking great, no matter what Chicago’s weather throws at it.