Categories
DIY Home Improvement

DIY Caulking Hacks: Save Time and Money

Caulking is an essential home maintenance task that helps seal gaps and cracks, preventing water damage and improving energy efficiency. Here are some clever hacks and shortcuts to make the caulking process easier and more cost-effective:

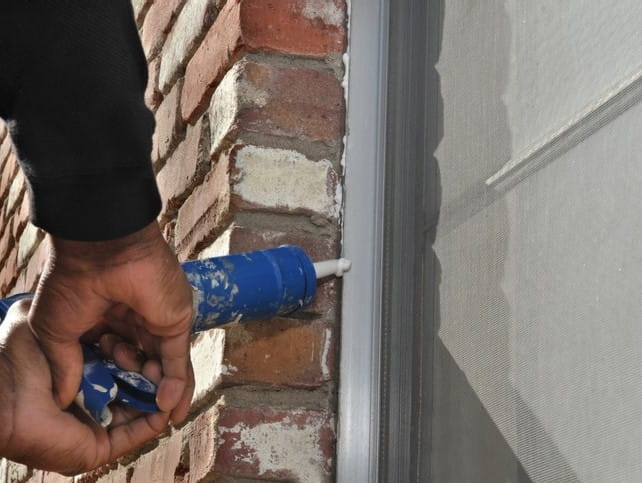
First, choose the right caulk for your needs. Silicone caulk is ideal for areas exposed to water, such as bathrooms and kitchens, while acrylic latex caulk is paintable and great for areas not exposed to much moisture. For bathrooms and kitchens, caulk with mildew resistance is perfect to prevent mold growth. Preparation is key: clean the surface by removing old caulk, dirt, and debris using a scraper or putty knife, and clean the area with rubbing alcohol or a mild detergent. Ensure the surface is completely dry before applying new caulk.

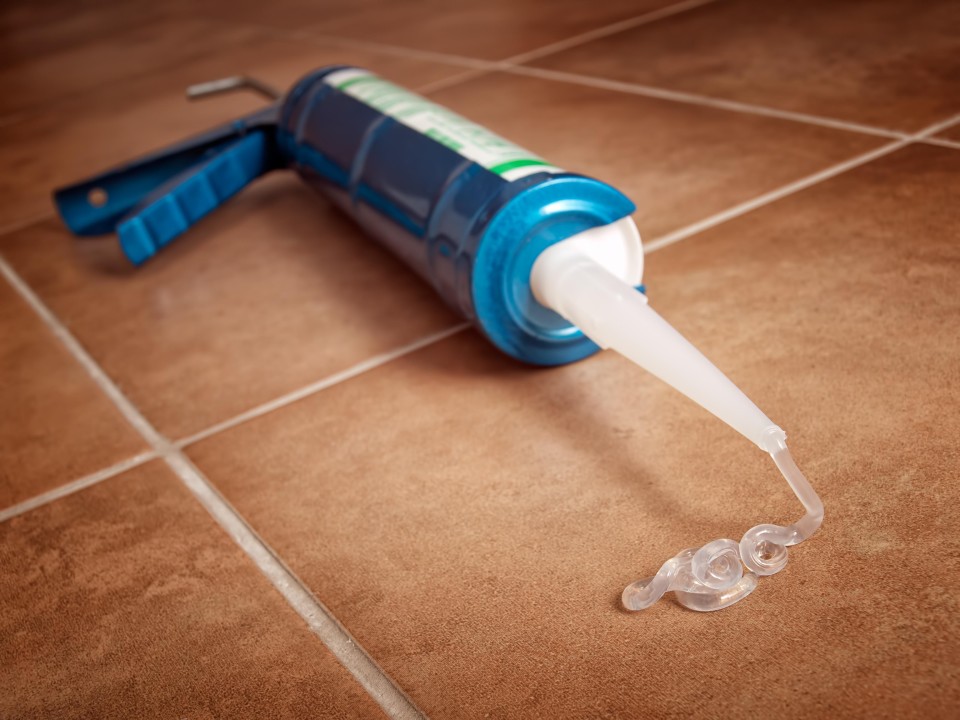
For clean lines, apply painter’s tape on both sides of the joint where you will be caulking to ensure a straight line and prevent excess caulk from spreading. Cut the tip of the caulk tube at a 45-degree angle to control the flow of caulk better; a smaller hole is suitable for narrow gaps, while a larger hole works for wider gaps. Warm the caulk tube by placing it in warm water for a few minutes to soften the caulk, making it easier to apply smoothly.

Invest in a caulk smoothing tool or use a wet finger to smooth out the caulk bead after application for a professional-looking finish. Keep a damp cloth nearby to wipe away any excess caulk immediately, preventing it from drying and creating a mess. A caulk saver tool or plastic wrap can help seal the caulk tube if you don’t use the entire tube, preventing it from drying out for future use.

Work in manageable sections to ensure the caulk doesn’t start to dry before you smooth it out, maintaining a consistent application. If you’re new to caulking, practice on a piece of cardboard or scrap material first to get a feel for the application process. Use a specialized caulk removal tool or a razor blade to remove old caulk efficiently, ensuring a clean surface for the new application. For large projects, consider investing in a power caulking gun, which provides a consistent flow of caulk with less effort.

By implementing these DIY caulking hacks, you can achieve professional-looking results, save time, and minimize waste. Happy caulking!

Categories
Home Improvement Guides

Mastering the Art of Caulking: A Comprehensive Guide for Home Improvement

Caulking is a simple yet effective way to seal gaps and prevent damage in your home, from water leaks to air drafts. It’s a skill that every homeowner should have, as it not only protects but also improves the appearance of your spaces. This guide will walk you through the best practices for caulking, ensuring that you can handle this task like a pro.

  1. Choose the Right Caulk

Type: The choice of caulk largely depends on the project:
– Silicone caulk is waterproof and flexible, perfect for areas exposed to moisture like showers and sinks. It is mold and mildew resistant but cannot be painted.
– Latex caulk is easier to work with and clean up and can be painted, making it ideal for interior projects such as sealing around doors and windows.
– Polyurethane caulk is extremely durable and suitable for both indoor and outdoor projects, particularly where joints move significantly.
Color: Caulk typically comes in clear, white, or a variety of colors. Clear caulk is useful when you don’t want to impact the surrounding aesthetic, while colored options should match the surrounding materials unless you plan to paint over it.

  1. Prep the Surface

Thorough preparation is key to ensuring that the caulk adheres properly and lasts. Start by removing any old caulk with a caulk remover tool or a utility knife. Clean the area with soap and water or a solvent like isopropyl alcohol, and allow it to dry completely. This prevents dirt and moisture from undermining the new caulk’s effectiveness.

  1. Use a Caulk Gun

A good caulk gun can make the application process smoother and more controlled. Features to look for include a pressure release mechanism to stop the flow of caulk when you release the trigger and a comfortable grip. Load the tube correctly and practice on a piece of cardboard if you’re unfamiliar with the tool.

  1. Cut the Tip Correctly

The size of the hole in the caulk tube’s nozzle will determine the flow of the caulk. Cut it at a 45-degree angle for easier application along joints. Start with a smaller cut—you can always enlarge it if needed. This gives you more control over the amount of caulk dispensed.

  1. Apply Evenly

Consistency is crucial for a professional-looking finish. Apply steady pressure on the trigger and move the gun along the seam in one fluid motion. Aim to keep the gun moving at a consistent speed and angle to lay down an even bead.

  1. Smooth the Bead

Smoothing out the caulk bead is essential for both appearance and seal quality. You can use a damp finger, a caulk smoother, or a small spoon dipped in soapy water to gently press and smooth the caulk into the gap. This action helps it bond uniformly with both sides of the gap.

  1. Let It Cure

Patience is important. Caulk needs time to set and achieve its full sealing properties. Avoid exposure to water and touching the caulk during this time. Check the product instructions for specific curing times, which can vary based on the type of caulk and environmental conditions.

  1. Regular Maintenance

Even the best-applied caulk can degrade over time. Inspect caulked areas annually and look for signs of cracking or peeling. Address these issues promptly to maintain the integrity of your seals.

Caulking is a critical maintenance task that can prevent a variety of household problems. By following these detailed steps, you can ensure a watertight and airtight seal, keeping your home safe and well-maintained. Happy caulking!