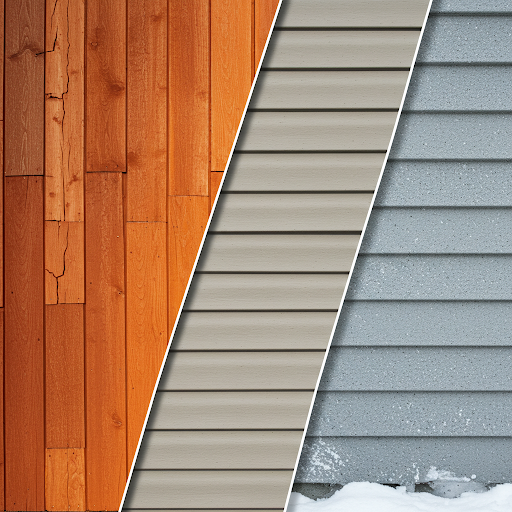
Weather-Resistant Siding
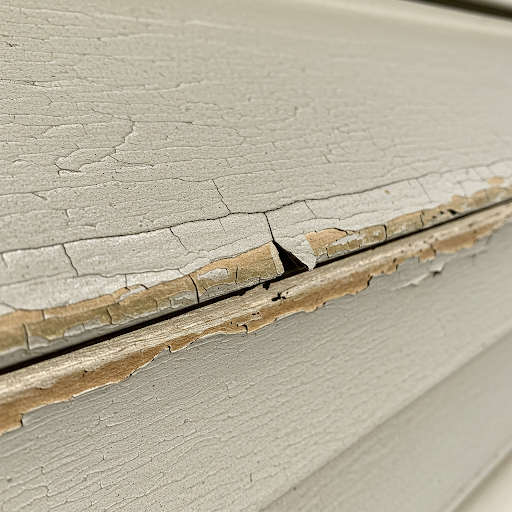
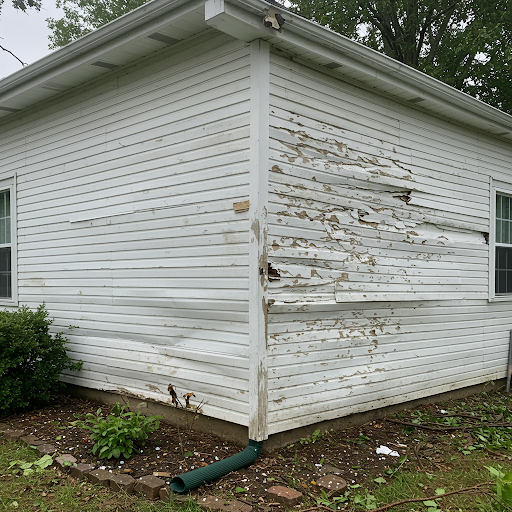
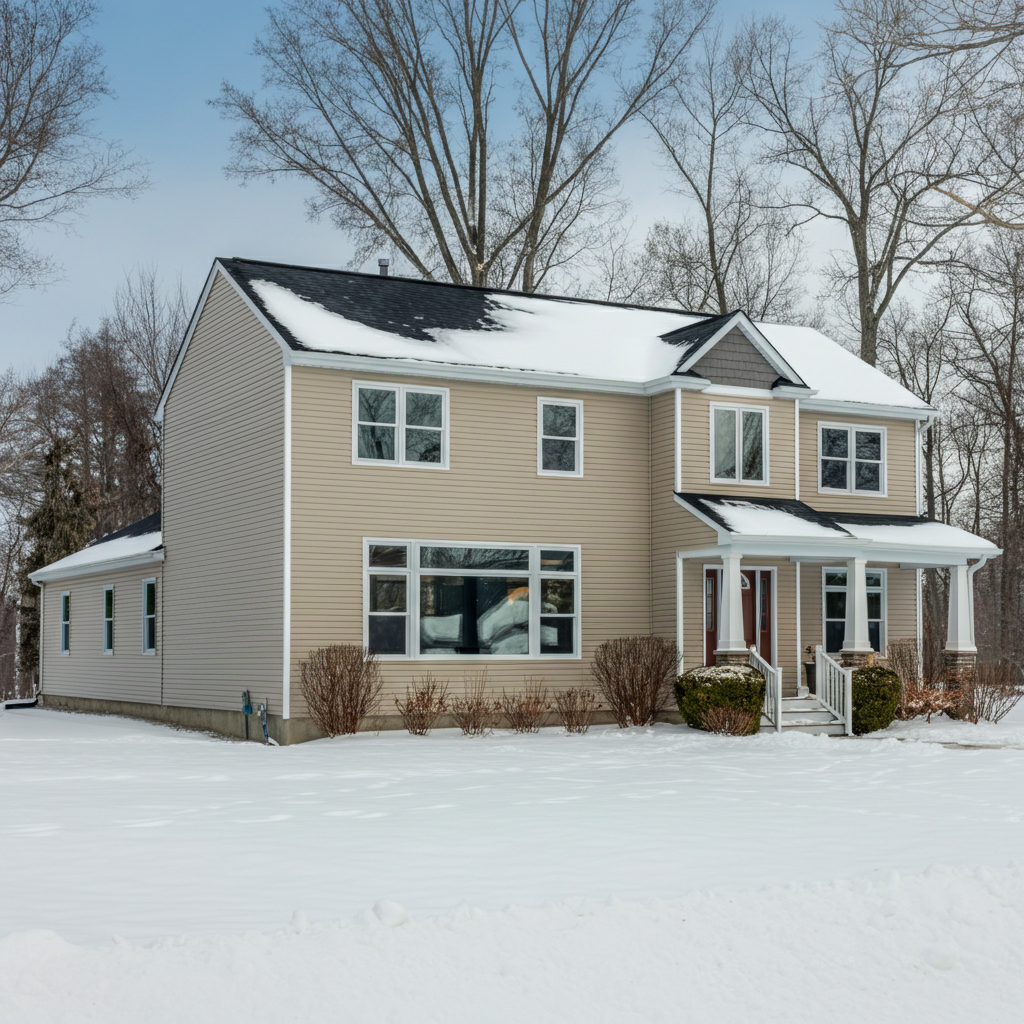
Chicago’s harsh winters, high winds, and humid summers demand siding that is built to last. Weather-resistant siding materials not only protect your home but also reduce long-term maintenance and repair costs.
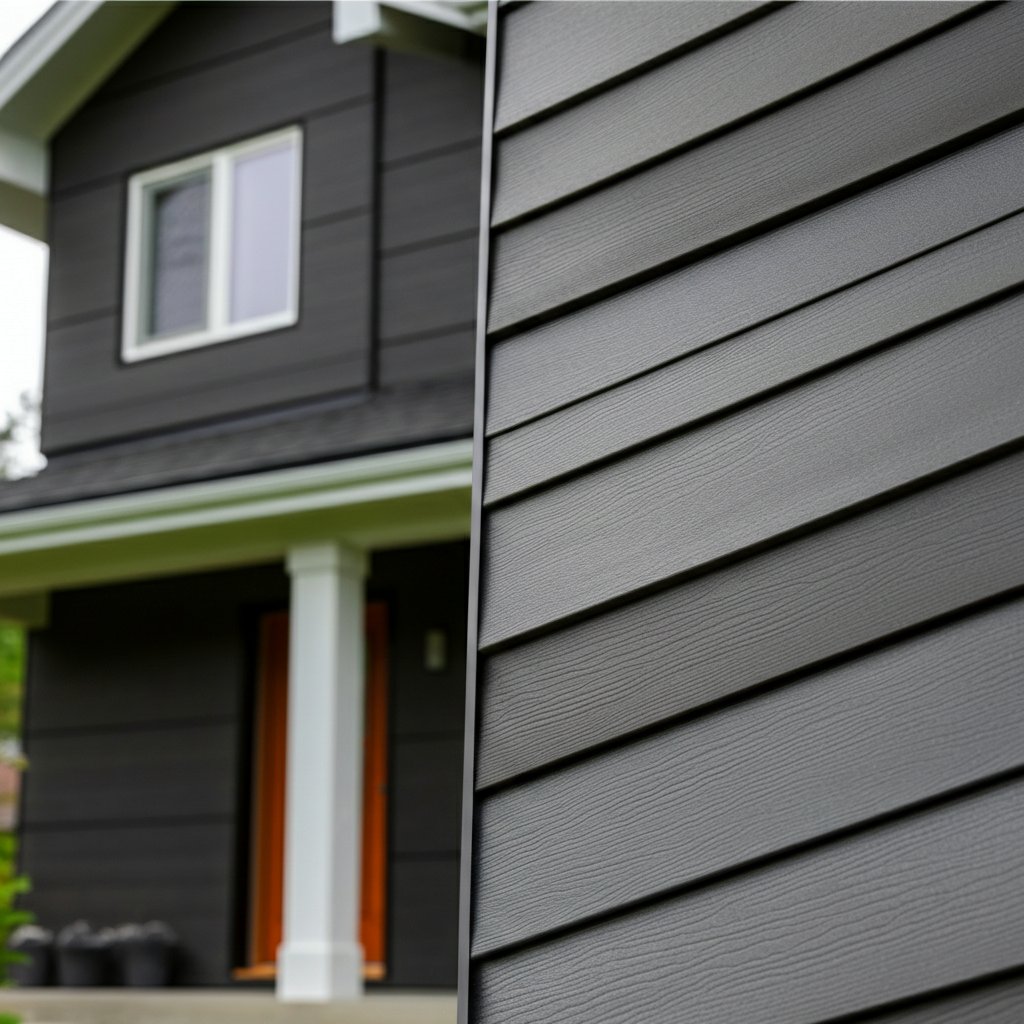
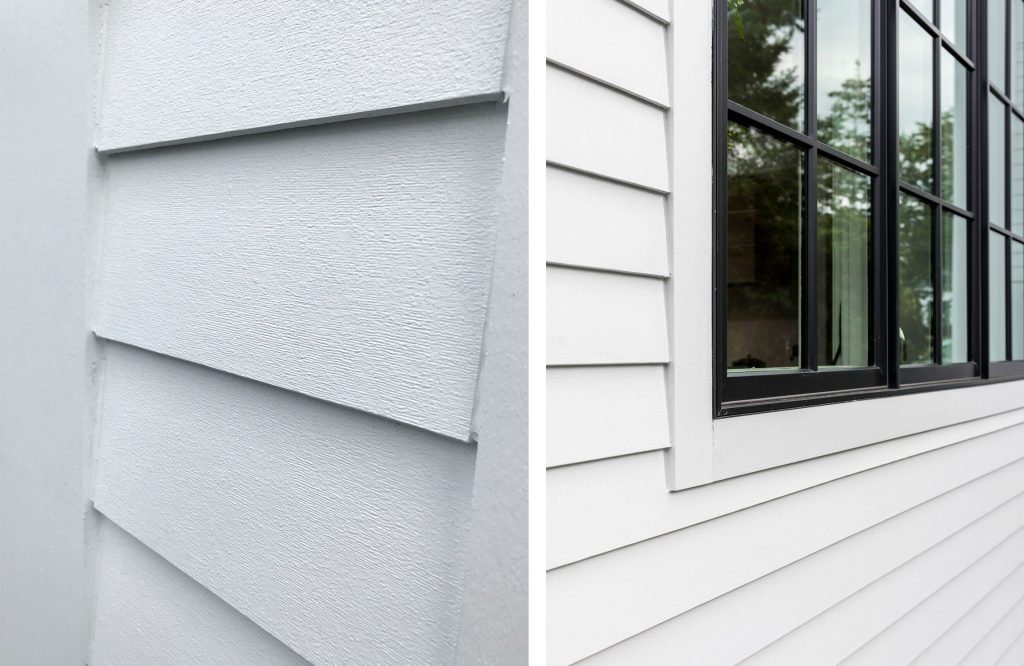
Fiber Cement Siding: A top choice for Chicago homes, fiber cement siding is highly durable and can withstand the city’s snowstorms, heavy rains, and fluctuating temperatures. It resists warping, cracking, and rotting, making it an excellent long-term investment.
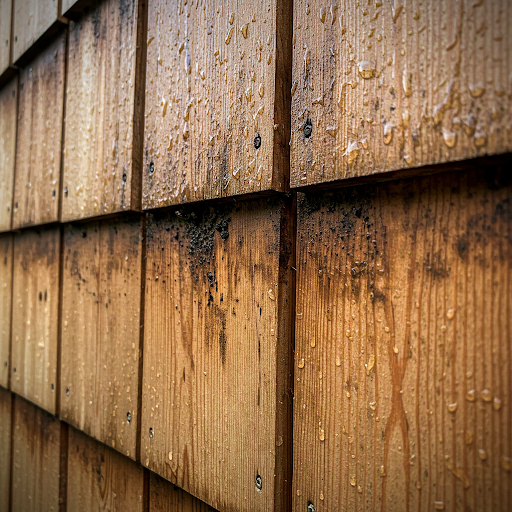
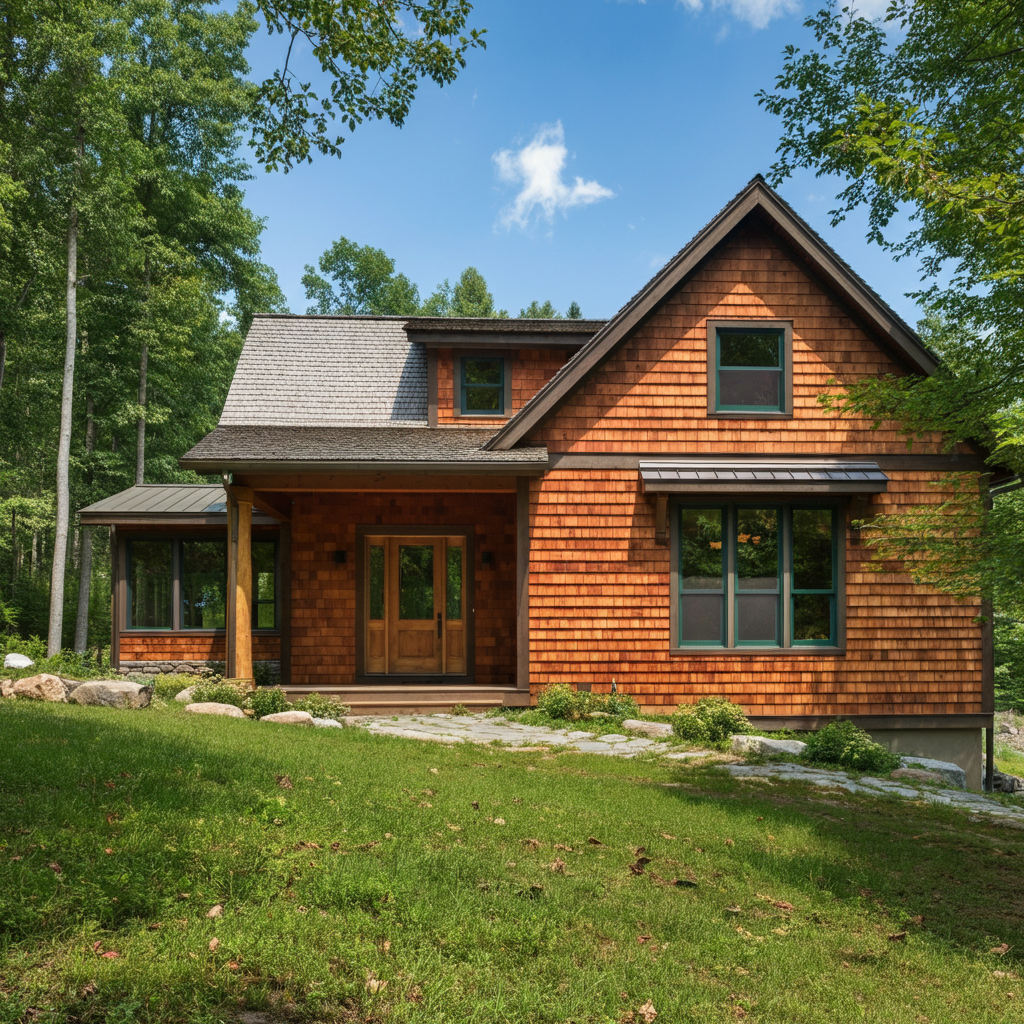
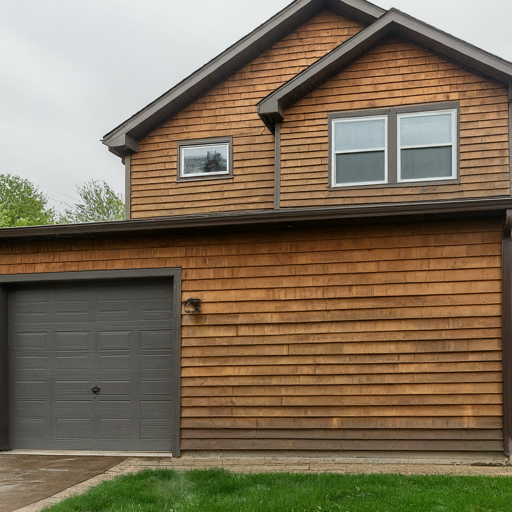
Engineered Wood Siding: This material combines the classic beauty of natural wood with enhanced resistance to moisture, pests, and rot. It’s perfect for homeowners who love the look of wood but need a material that can handle Chicago’s tough climate.
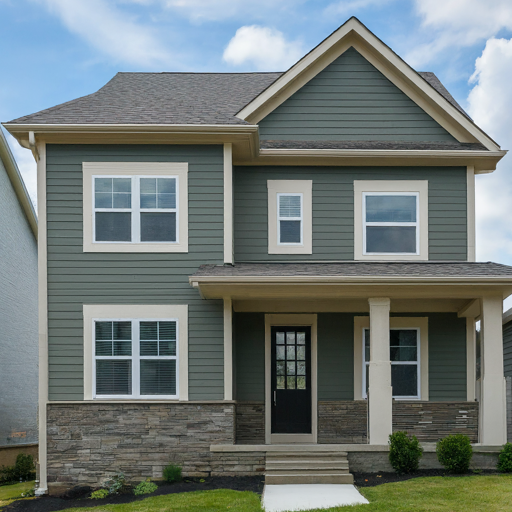
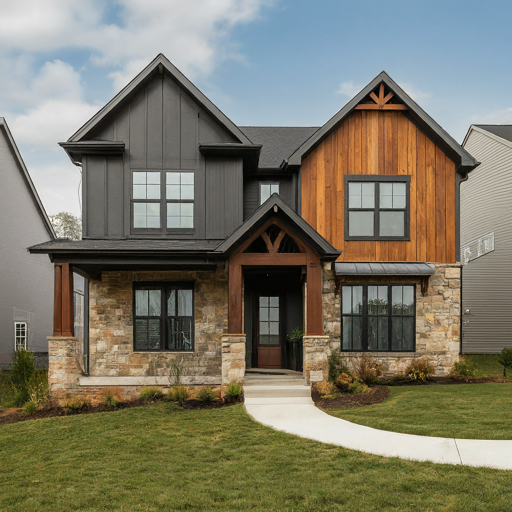
Stone Veneer Siding: For added luxury and extreme durability, stone veneer offers a rugged exterior that stands up to the elements while boosting your home’s curb appeal.
Energy-Efficient Siding
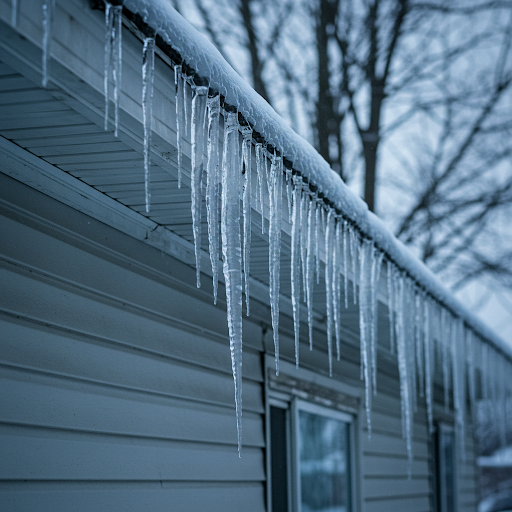
Energy costs are a significant concern for Chicago homeowners, especially given the city’s cold winters and hot summers. Energy-efficient siding solutions not only improve insulation but also help reduce heating and cooling bills.
Insulated Vinyl Siding: This siding features built-in insulation that helps maintain indoor temperatures, keeping your home warm during Chicago’s icy winters and cool during its humid summers. It’s also a cost-effective option for upgrading your home’s energy efficiency.
Foam-Backed Panels: Foam-backed siding provides an additional layer of insulation, reducing energy loss and enhancing your home’s overall efficiency. These panels are ideal for older homes that need extra insulation to compete with modern energy standards.
Reflective Siding Coatings: Advanced reflective coatings deflect sunlight during hot summers, reducing the strain on your air conditioning system. These coatings are especially useful for homes that receive direct sunlight throughout the day.
Sustainable Siding Materials
In 2025, eco-friendly siding options are becoming increasingly popular as homeowners aim to reduce their environmental impact while creating beautiful, durable exteriors.
Recycled Composite Siding: Made from recycled plastics and wood fibers, composite siding is both sustainable and long-lasting. It replicates the appearance of natural wood without contributing to deforestation.
Fiber Cement Siding: Crafted from sustainable materials like sand, cement, and cellulose fibers, fiber cement siding is a green choice that doesn’t sacrifice durability. It’s resistant to fire, pests, and harsh weather, making it a practical and eco-conscious option for Chicago homes.
Natural Wood with Eco-Friendly Treatments: For homeowners who prefer a traditional look, treated natural wood offers a sustainable option. Non-toxic preservatives protect the wood from moisture and pests, extending its lifespan without harming the environment.
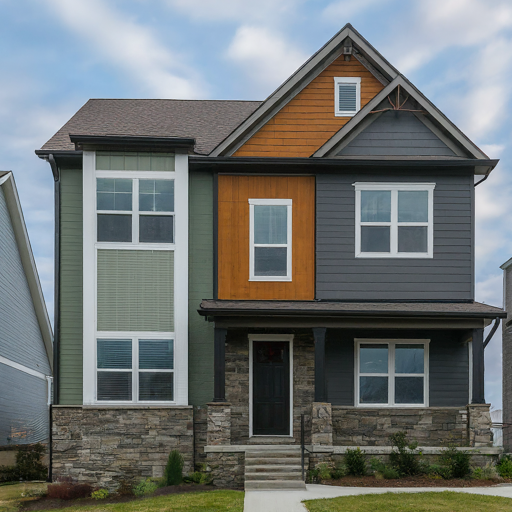
Bold and Trendy Colors
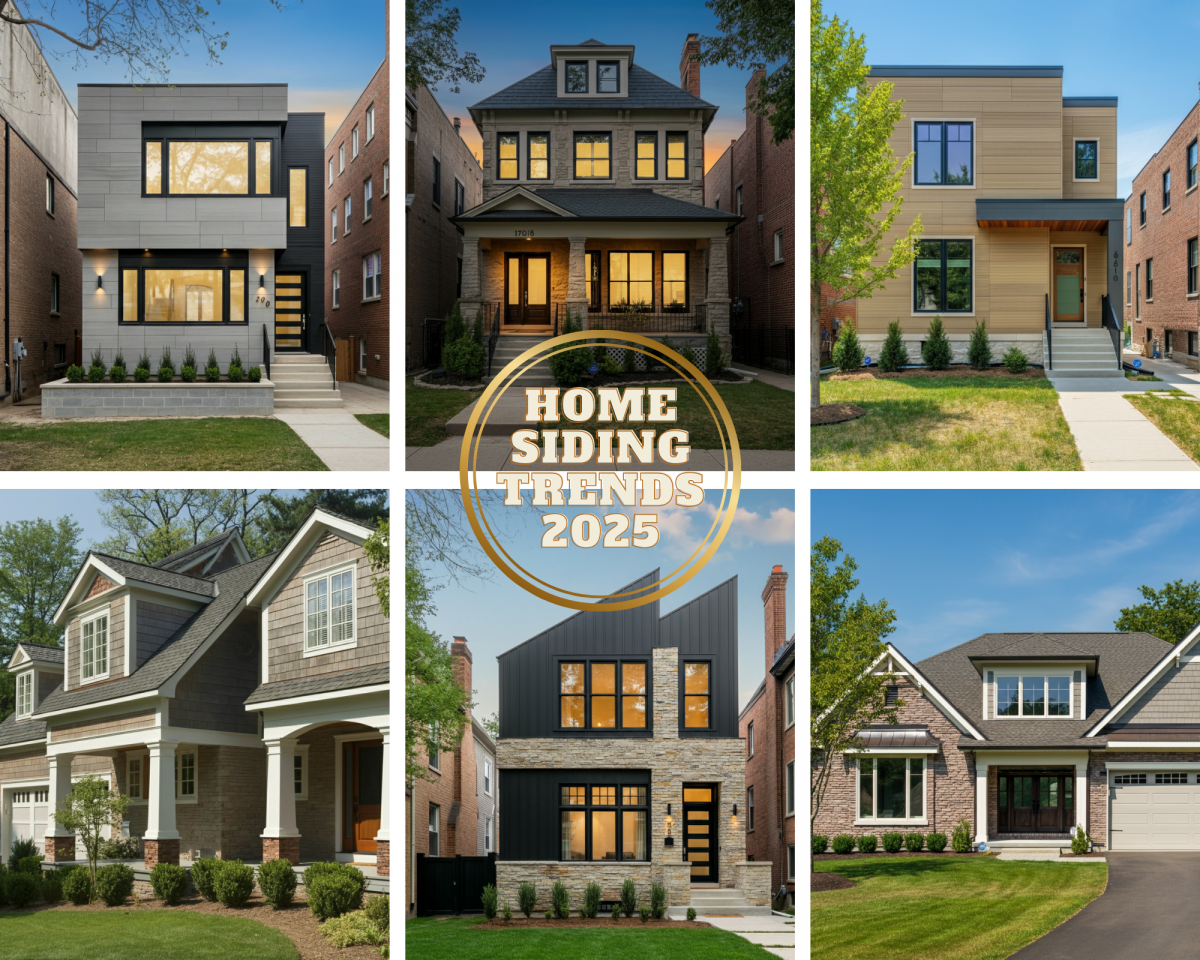
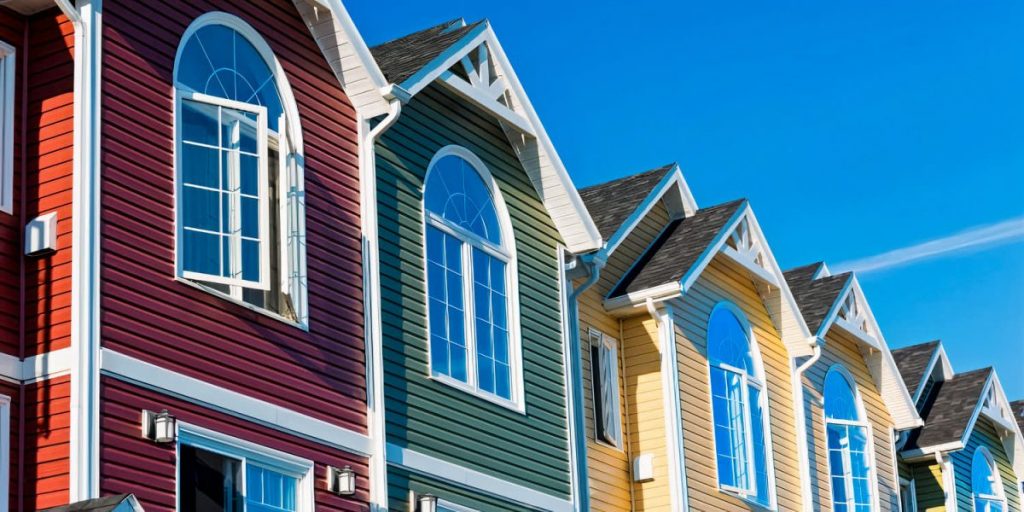
Your home’s exterior is one of the first things people notice, and siding color trends in 2025 emphasize bold, natural tones that make a statement. These colors work well with Chicago’s architectural diversity, from historic homes to modern designs.
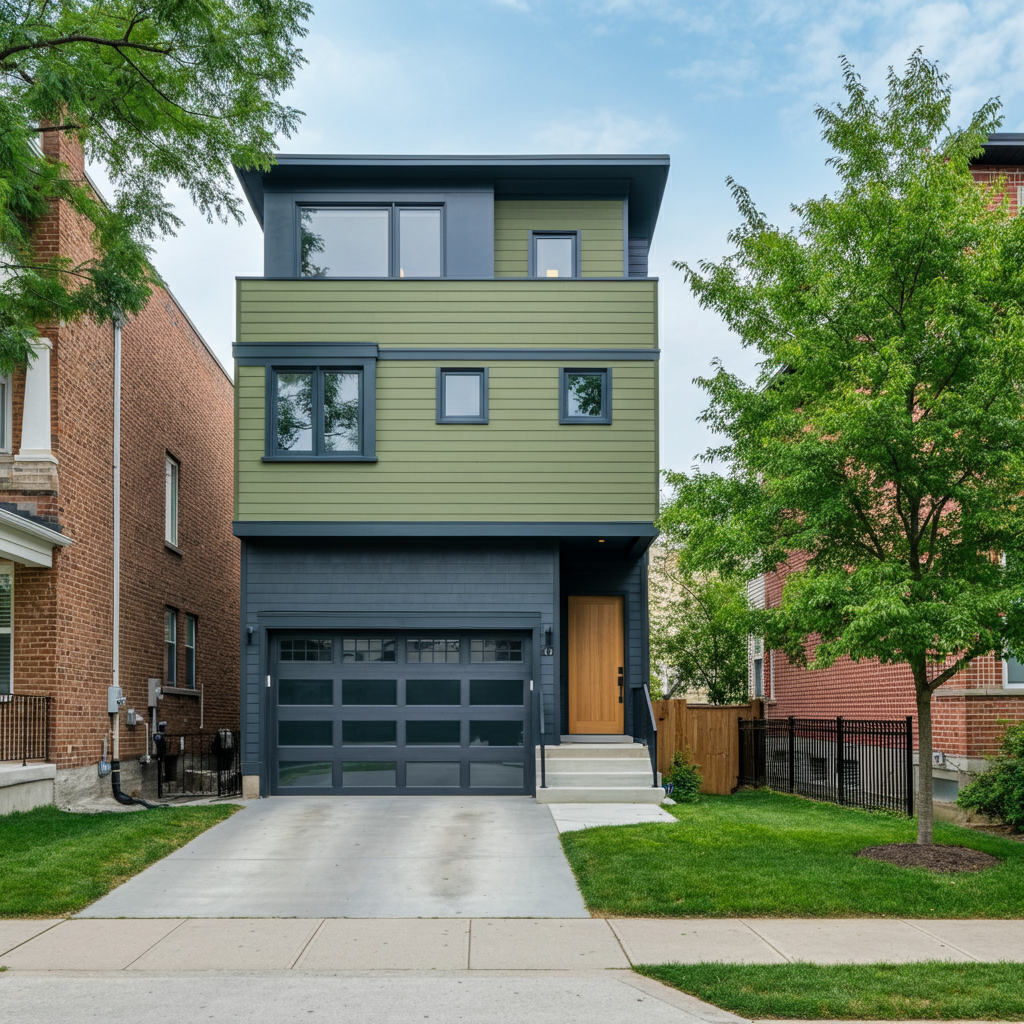
Earthy Hues: Colors like olive green, deep brown, and terracotta provide a natural aesthetic that blends seamlessly with the environment. These tones are ideal for homeowners who want a warm, inviting look that complements Chicago’s tree-lined streets and urban charm.
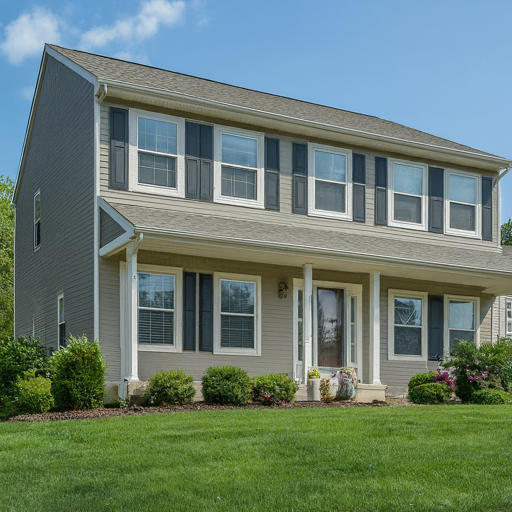
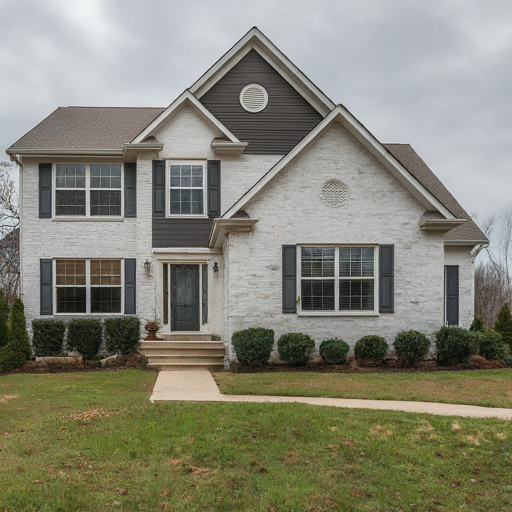
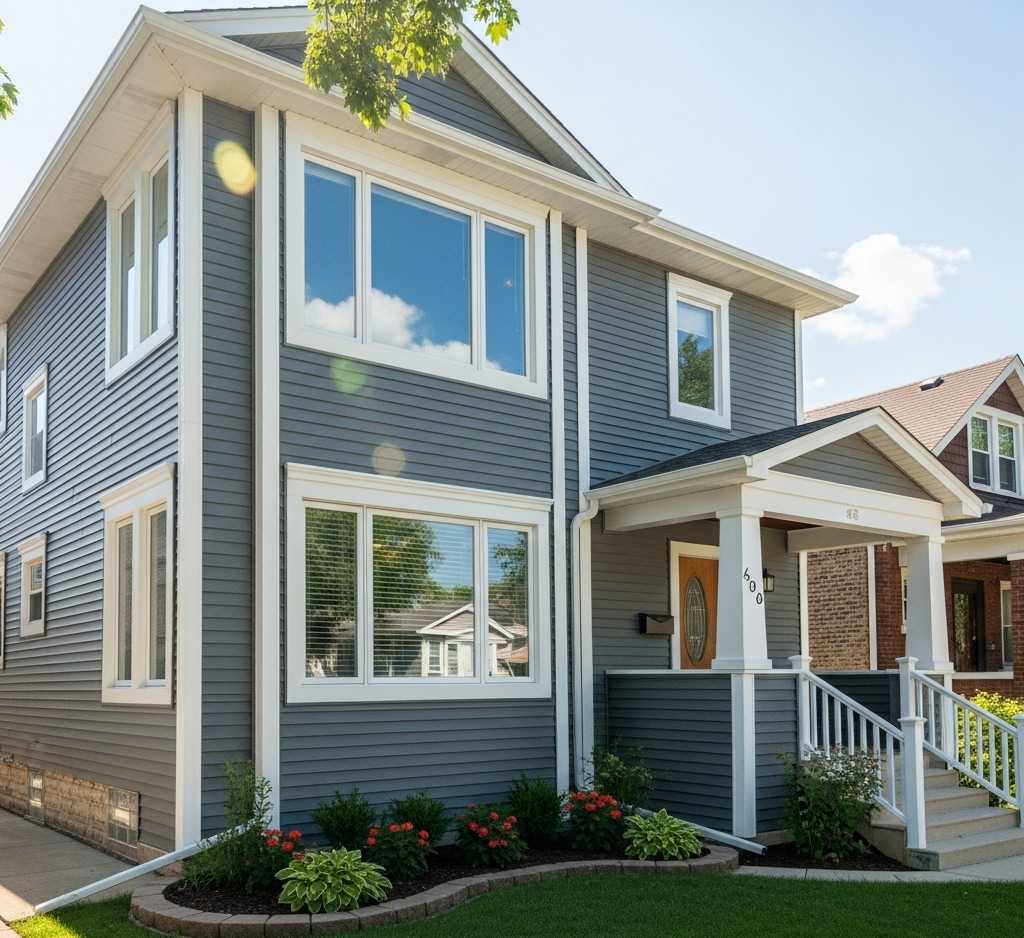
Neutral Grays and Whites: Timeless and versatile, gray and white tones remain popular for siding in 2025. They pair beautifully with bold trim colors, creating a classic yet modern appearance.
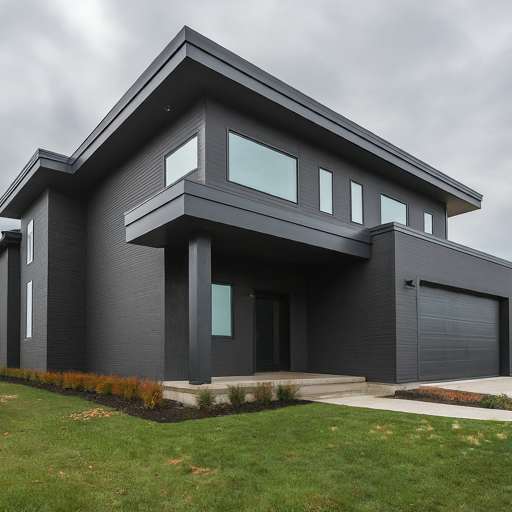
Dark Accents: Charcoal gray, navy blue, and even black siding are growing in popularity for their dramatic, sophisticated appeal. These bold choices are perfect for homeowners looking to stand out while maintaining a contemporary look.
Maintenance-Free Siding
For busy Chicago homeowners, low-maintenance siding options are a lifesaver. These materials are designed to look great with minimal effort, making them perfect for modern lifestyles.
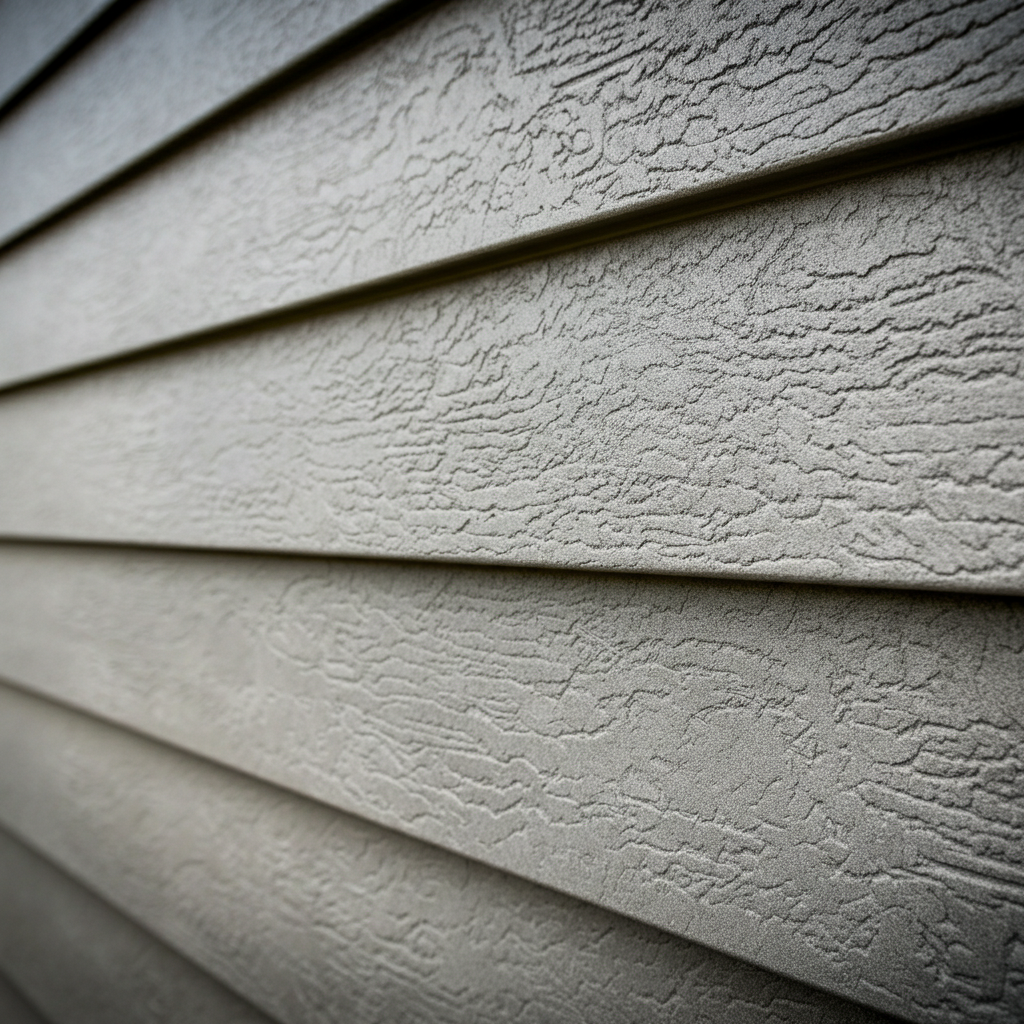
Vinyl Siding: A tried-and-true option, vinyl siding is resistant to moisture, rot, and pests. It’s available in a wide range of colors and textures, including wood-look finishes, allowing homeowners to achieve the desired aesthetic without the upkeep of real wood.
Composite Siding: Composite materials mimic the appearance of wood while offering exceptional durability and resistance to wear and tear. They don’t require regular painting or sealing, making them ideal for long-term use.
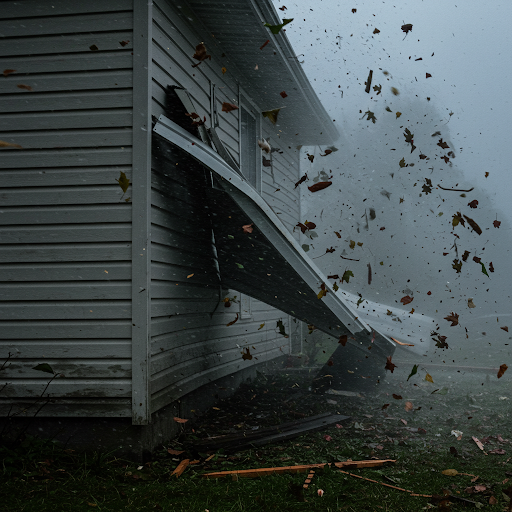
Aluminum Siding: Lightweight and virtually maintenance-free, aluminum siding is a great option for Chicago’s windy climate. It’s resistant to rust and fire, making it a durable and safe choice for your home’s exterior.
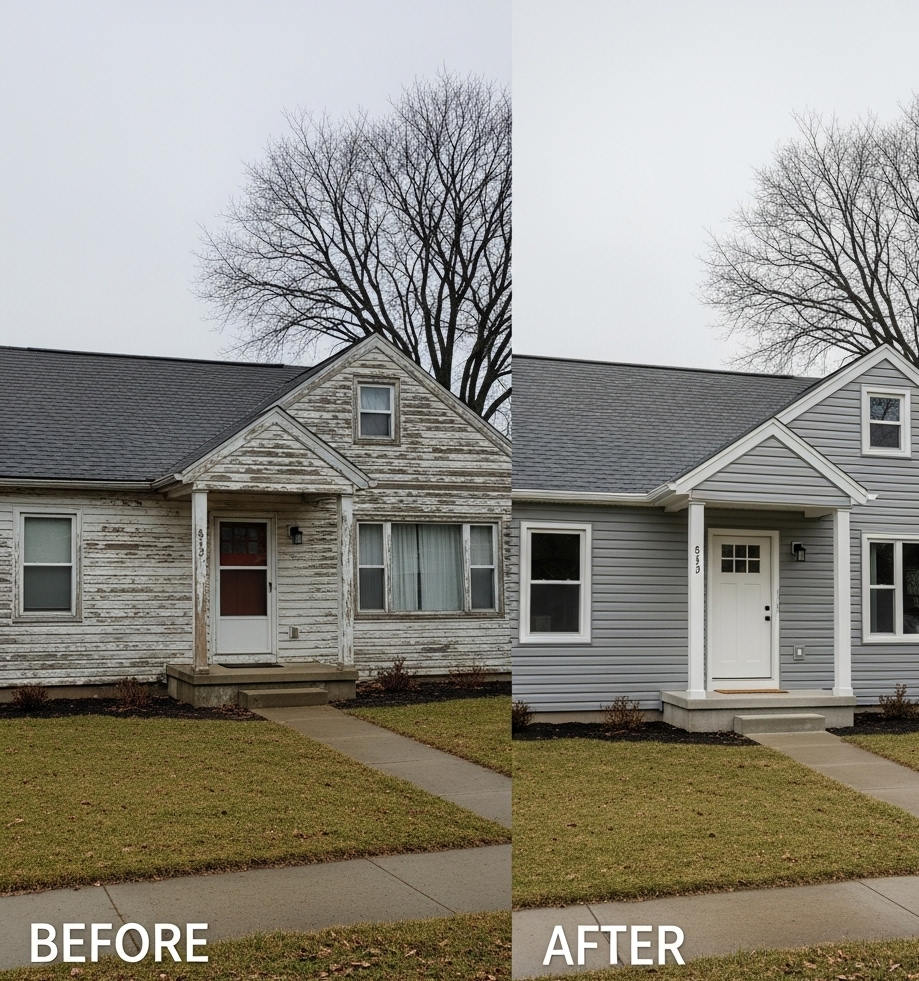
These top 5 siding trends for 2025 reflect the needs and preferences of Chicago homeowners who value durability, energy efficiency, sustainability, and style. Whether you choose weather-resistant fiber cement, energy-saving insulated vinyl, or bold new color palettes, upgrading your home’s siding is a smart investment that will protect and beautify your property for years to come.
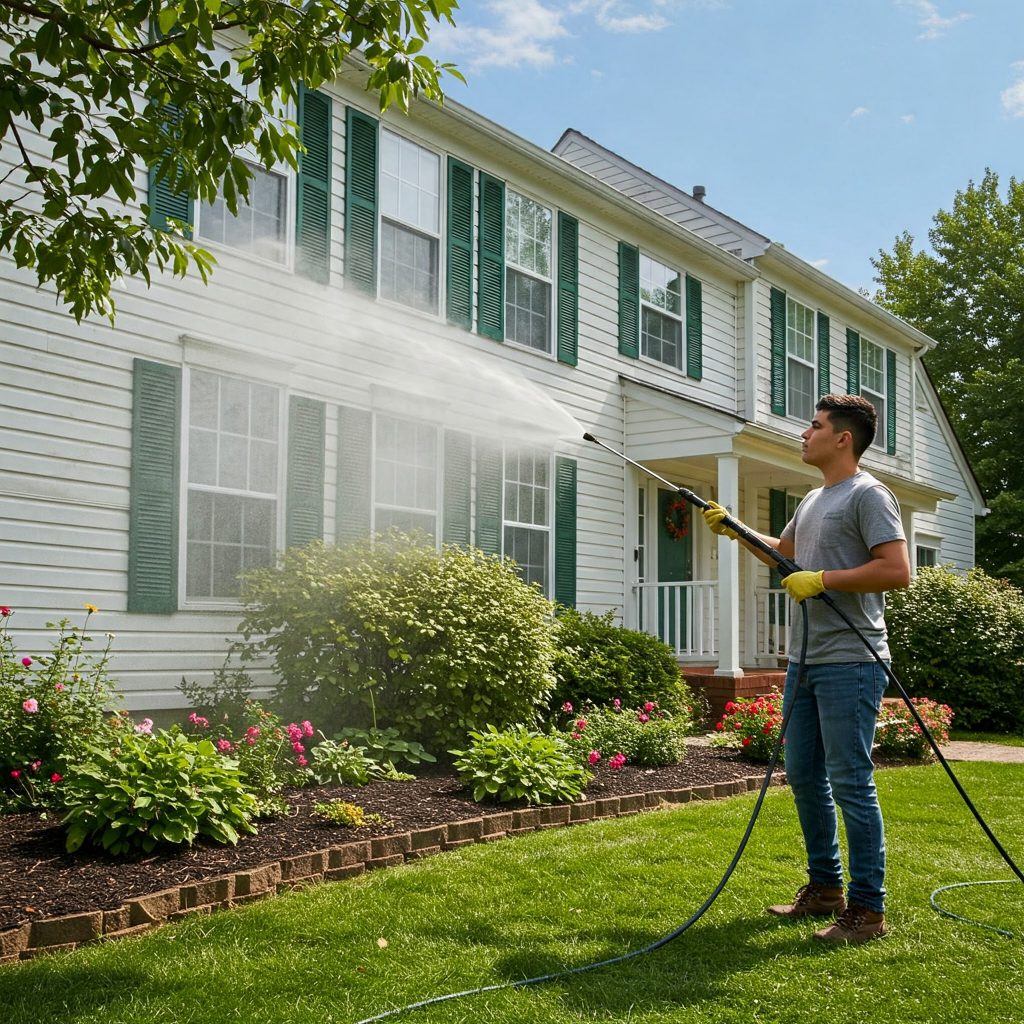
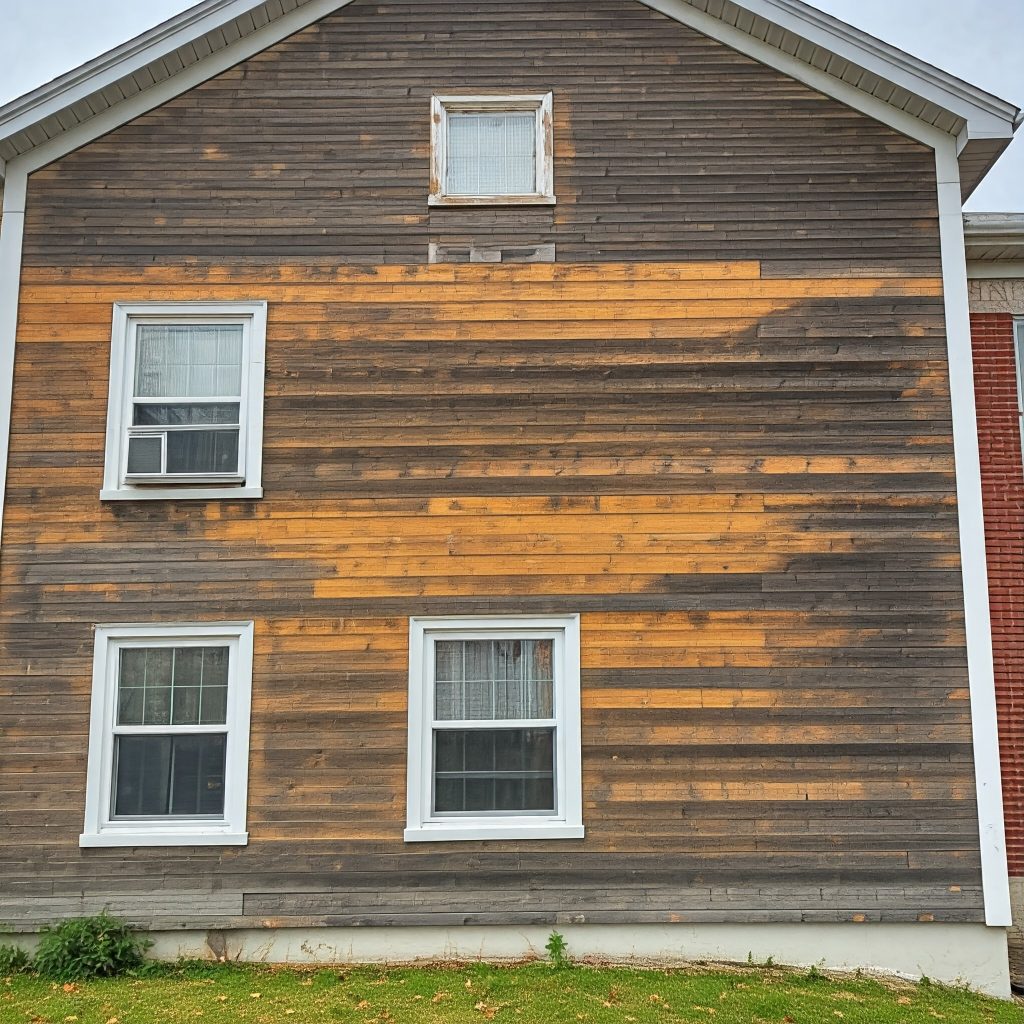
 Do’s of Power Washing Your Siding
 Don’ts of Power Washing Siding